Well, some of you were in the last class and I wanted to create a class that would continue some of the techniques we covered.
However, if this is the first class you've taken... welcome. This is new and is a stand alone class.
How do you do it?
We're going to use a photo....
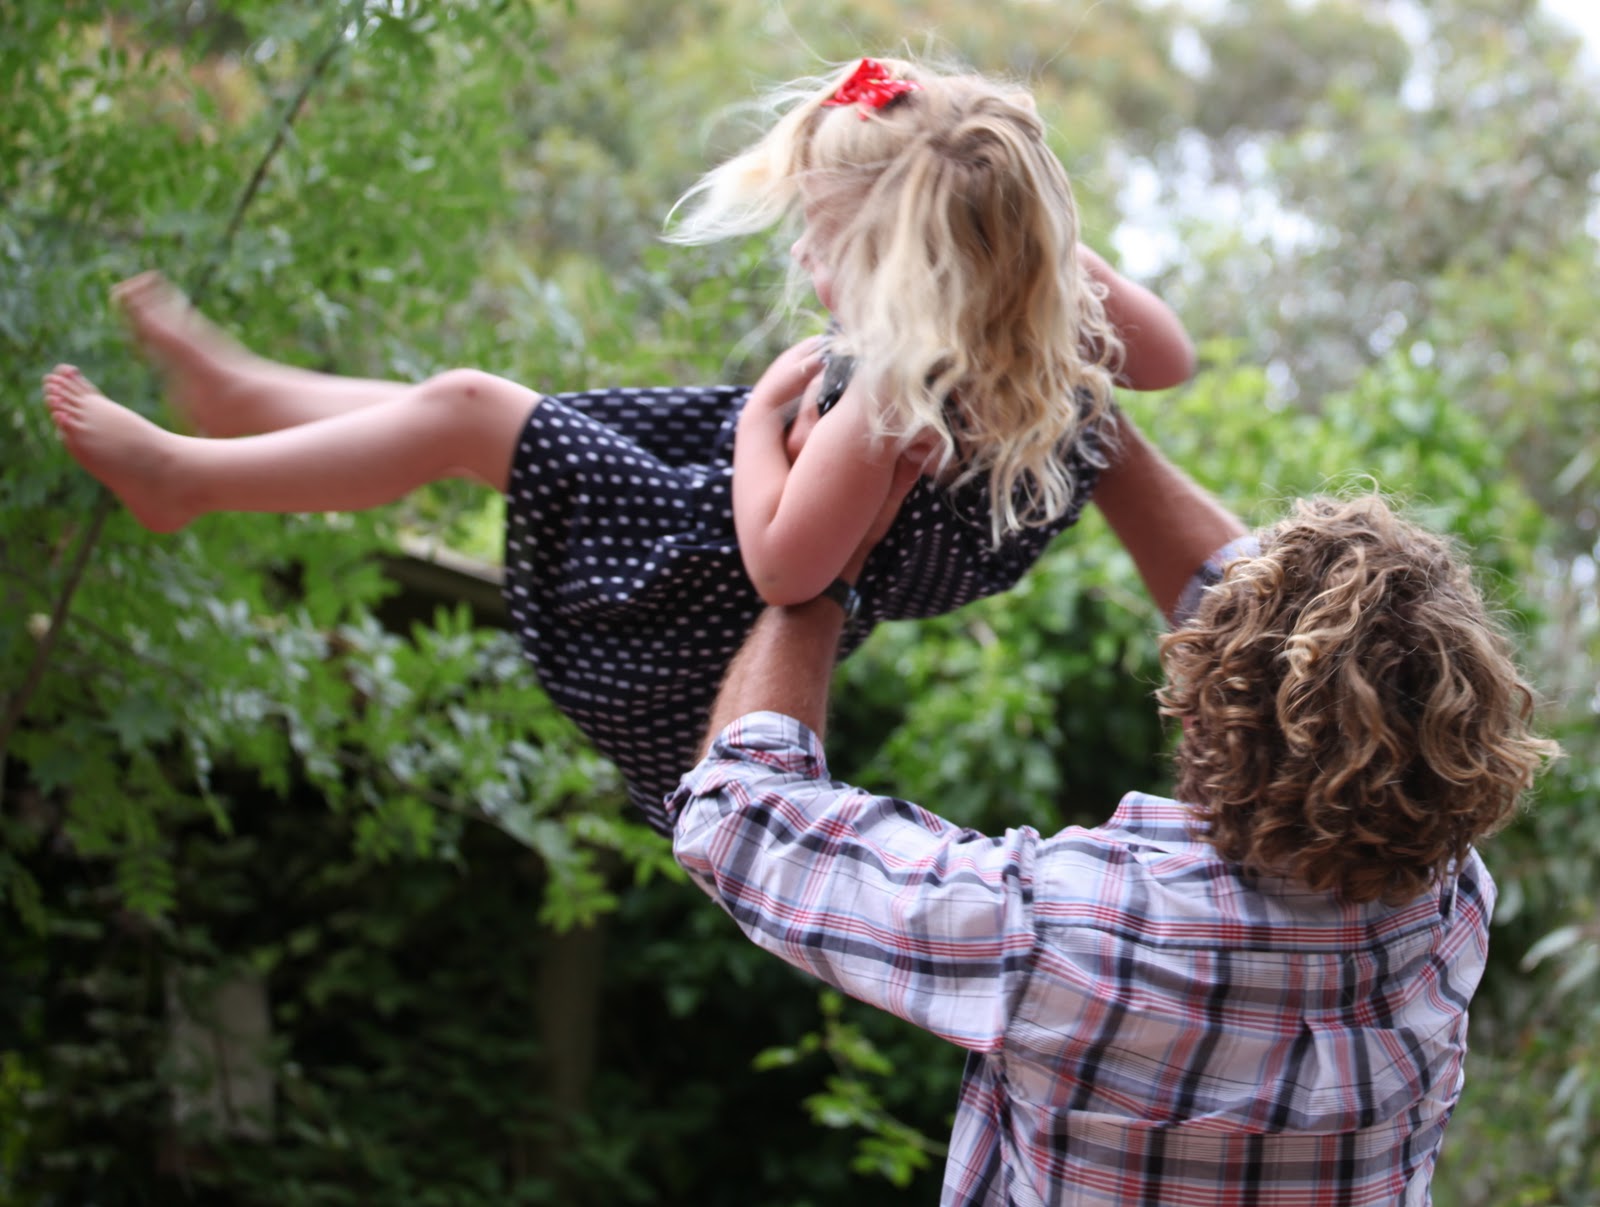
Quite a simple photo....... similar to this one below.
This is my son Jamie, and he was playing with Miss Tilly on Christmas day.
It tells a story.
I've taken out all of the background detail and simply focused on the image.
"Woow, how do you create the image, I can't draw?"
Well, that's what you are coming to class for... there are several techniques to achieve this with no angst.
It's easy and it's fun.
The last day of the class is all about putting the quilting illustration into a meaningful quilt.
I will share a few of the illustrations I have done to create a few other "Quirky Quilting Quilts."
As I write I am completing another quilt... (a rather large one) with the same technique.
It tells a story. The images were taken when I was in Winnipeg and a group of young people were skateboarding. I was in awe of their skill as they few through the air.
If you come back to this blog over the next few weeks. You can see the progress.
Now just what will you learn in this class?
- First and foremost, how to prepare the image you will be creating.
- Good preparation, good quality products, good results.
- How to transfer the image for thread illustration.
- How to quilt it.
- Look for the story in the background. Think of images that can be quilted to create the ambiance.
Requirements.:-
(this is more than you require, but I'm not sure how large you quilt will be)
1 metre fabric for the background. Consider a good quality, high thread count cotton. If you choose a pattern on the background, it needs to be quite subtle.
Don't pre-wash the fabric please.
1 metre for the backing.... you may look for a fabric with a small pattern that will enhance the quilt..
The reason I'm saying that is that in the quilt of Jamie and Tilly, I used the pattern on the fabric of the back of the quilt to enhance the overall picture.
similar to the image below, this quilt back is wonderfully fine cotton from Ikea.
You will need thin cotton batting the same size as your fabric.
15 small safety pins.
1 reel masking tape.
rotary cutter, ruler and mat.
1 reel of fine thread for the quilting on the background of the quilt.... it will need to be similar to the fabric color.
I will have the black 50 weight Superior Masterpiece thread for sale in class.
1 pkt of 70/10 sharp machine needles. (you can buy these at spotlight)
One .5 black pigment ink pen. (You can buy a uni pin .5 pigment ink pen at most newsagents)
Bring your machine in good order and make sure you pack the instruction book.
Most importantly, bring the free motion foot.
.
The open toe on the foot is an advantage.
Open open toe foot.
So lets do it ladies....
Email me if you have any questions.